Pick a title by the job
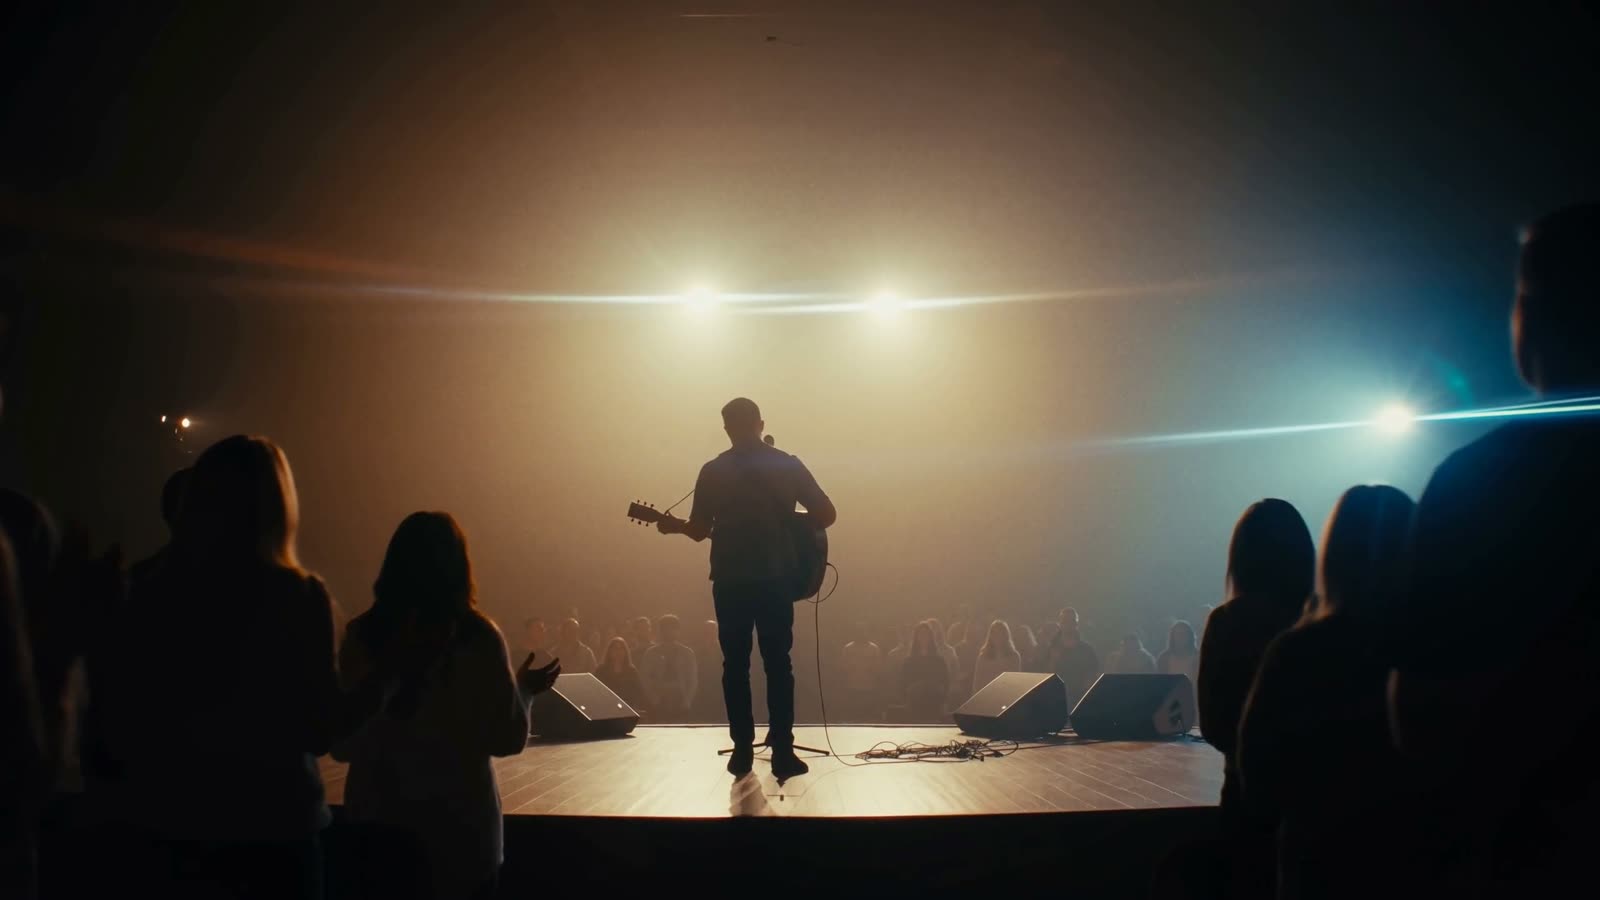
- Cinematic openers: Light Sweep Title. An anamorphic streak, lens flare and warm light leak travel across and reveal a serif title, then the subtitle settles in.
- Tech, gaming and reveals: Decode Title. The headline resolves out of random glyphs with an RGB split and one clean glitch.
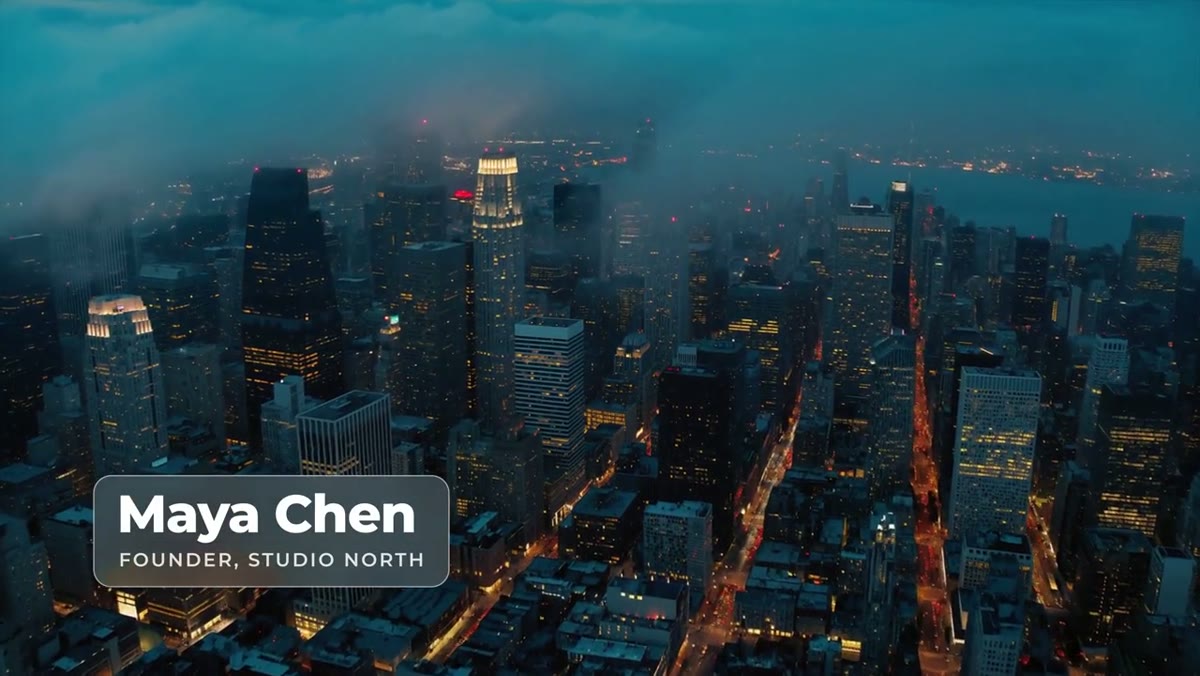
- YouTube chapters and section breaks: Chapter Title. A kicker, a headline that rises letter by letter, an underline swoosh and a subtitle. Turn the background off to use it over footage.
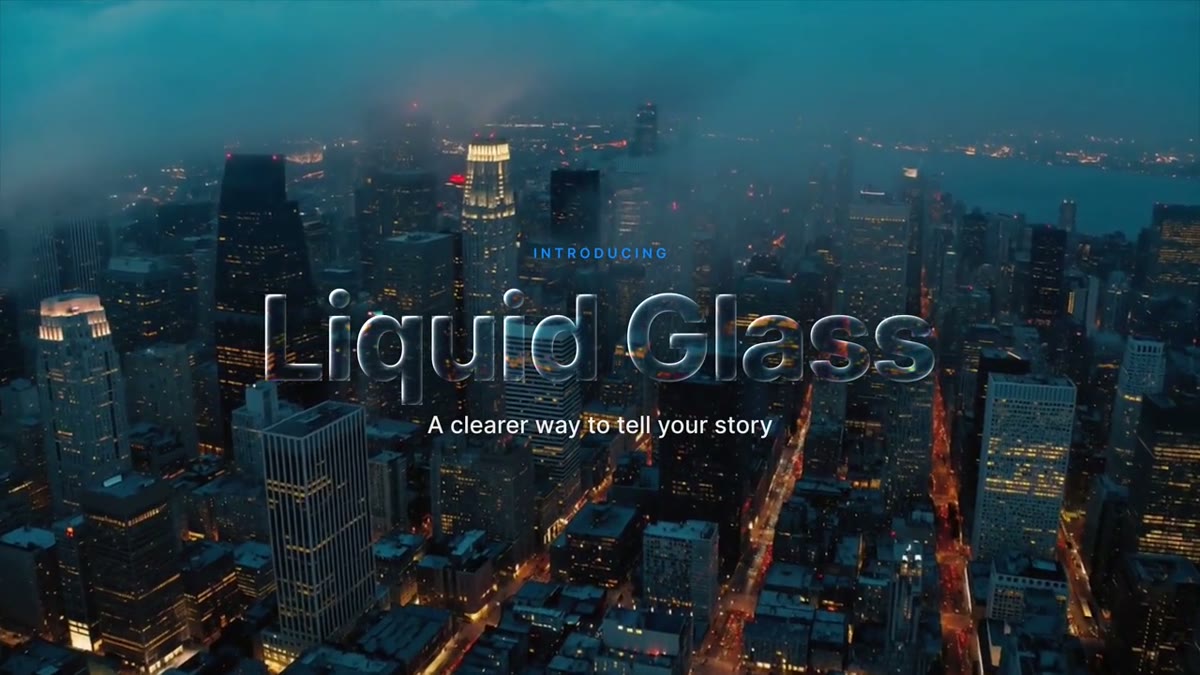
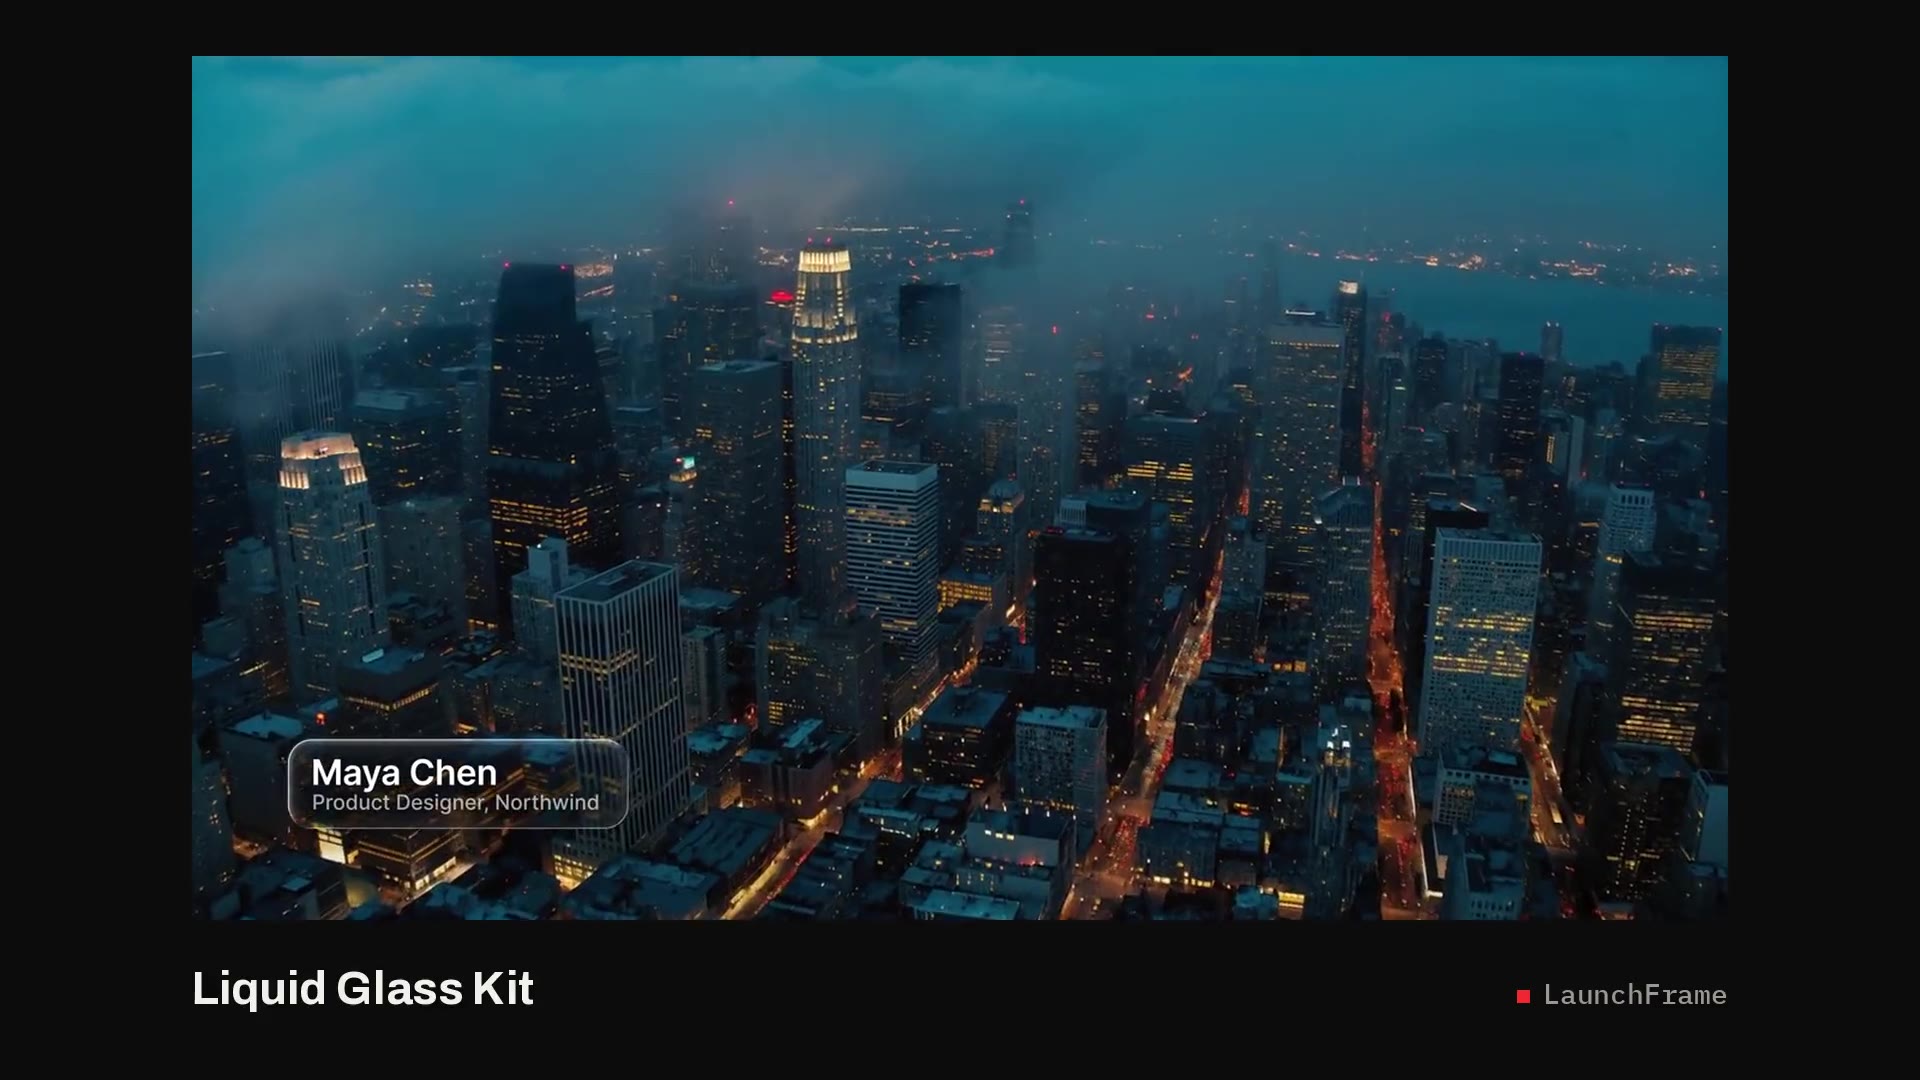
- Over footage, with the shot showing through: Liquid Glass Headline. Every letter is glass, bending the clip behind it like a small lens.
Adding a title in Premiere Pro
- Install the .mogrt from Graphics and Titles, Install Motion Graphics Template.
- Find it in the templates browser and drag it onto a track above your footage.
- Type your text and set the colors in the Essential Graphics panel.
- Trim the clip to the length you need. The in and out animations keep their speed, and only the hold in the middle changes.
The Liquid Glass Headline has one extra step: drag the same clip into its Background clip slot so the glass can bend it. The guide to using glass templates in Premiere Pro shows how.
What makes a title read
- Short. Two to five words for the main line. Put the rest in the subtitle.
- Long enough on screen. Leave the title up for at least as long as it takes to read twice.
- Inside title safe. Keep text 5% in from the edges. Turn on Safe Margins in the Program Monitor to check.
- One style per video. Pick the title that suits the video and use it for every chapter, so the edit feels designed.
Where they come from
Light Sweep and Decode are in the Signature Pack, Chapter Title is in the Creator Pack, and the Liquid Glass Headline is in the Liquid Glass Kit. After you buy, the files are in your library. For louder, word-by-word type, see kinetic typography templates.